How do I add a certificate to my Learning Site?
If you would like to add a certificate to your Learning Site, simply follow the steps described in this guide.
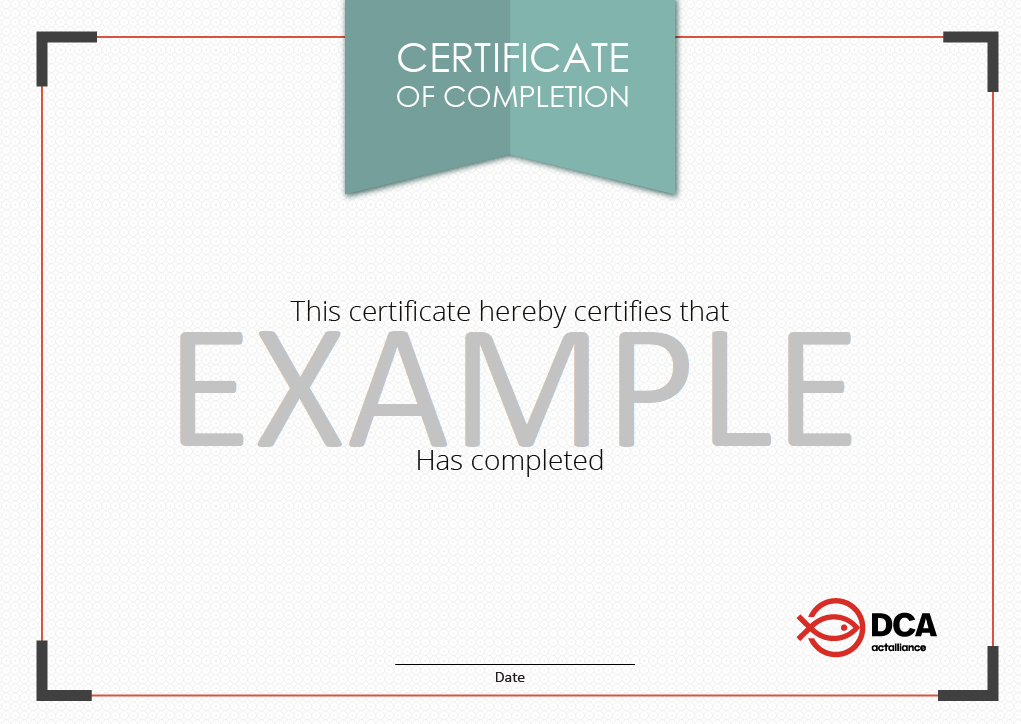
Step 1: Make sure that you have your certificate template ready. It is the background image that the text will be displayed on, i.e. your Learner’s name, your Learning Site’s name and the date.
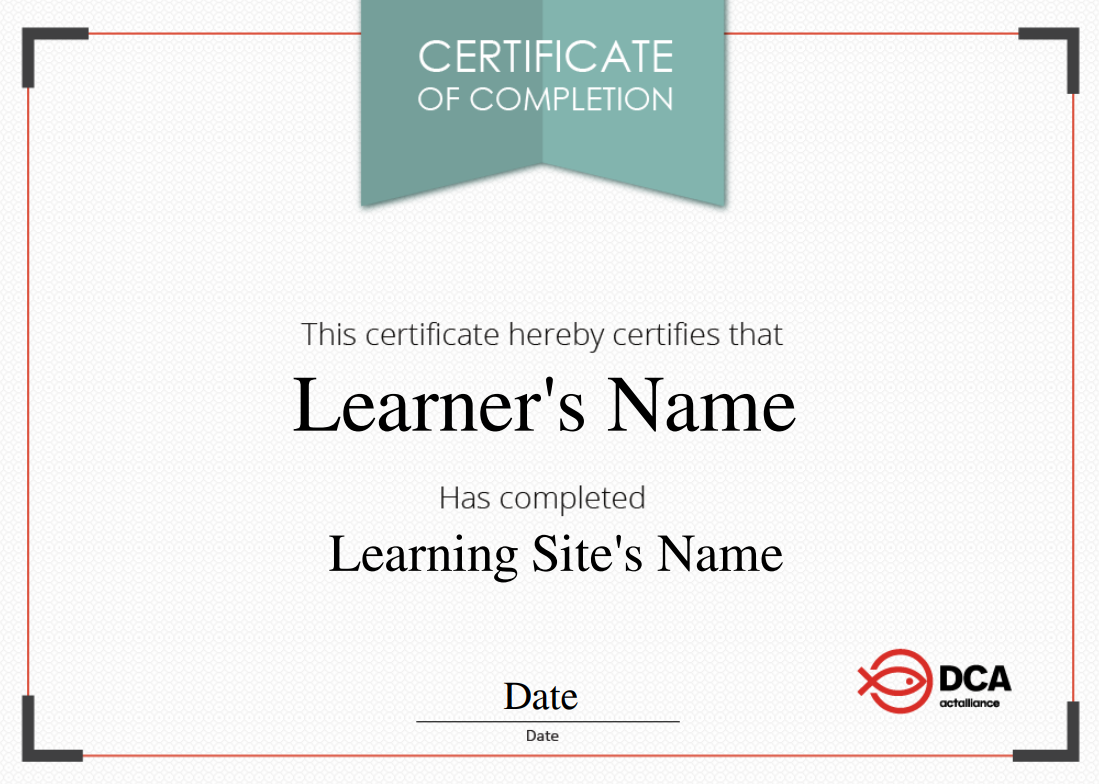
Here you can see the template that we are using at DanichChurchAid for our certificates:
To get inspired, you can search for “certificate template” in your search engine. There you will find images of other certificates, as well as websites offering free certificate templates that you can use on Fabo.
Step 2: Once you have your certificate template ready, click on the “Turn editing on” button on your Site:
Step 3: Click on “Add an activity”, choose “All” and then click on “Certificate”:

Step 4: Fill out the form that pops up to add a certificate to your Learning Site.
You need to give your certificate a name. It is the name that will appear on your Learning Site.
Once you have chosen a name, write it in the “Name” field:
![]()
Next, you need to decide which parts of your Learning Site are required to be completed by the Learner before they receive the certificate.
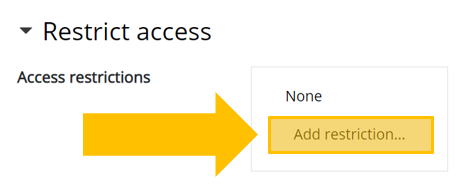
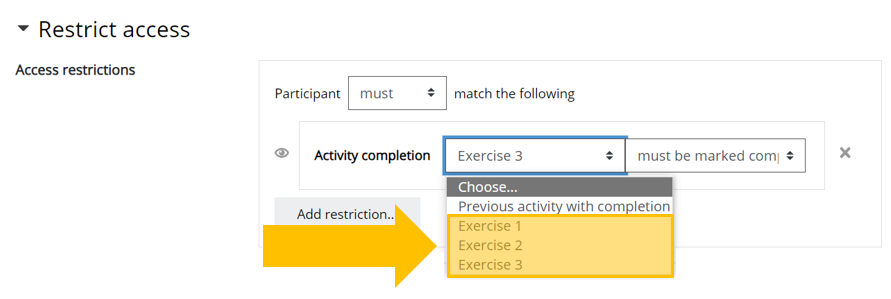
To do that, scroll down and click on “Restrict access”, and then on “Add restriction…”:
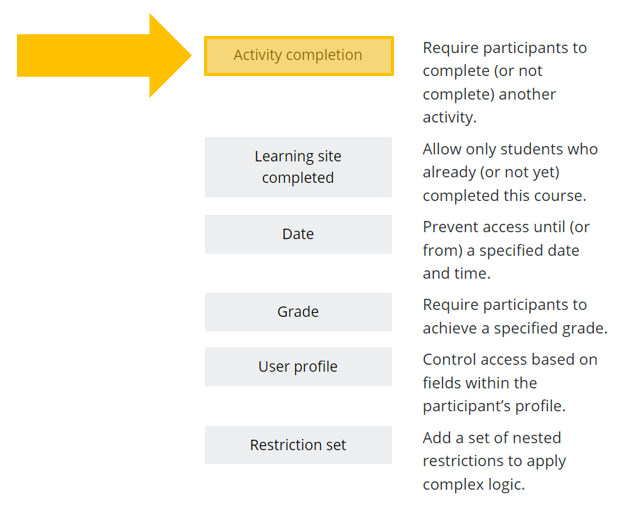
Here you can select the specific criteria for receiving the certificate on your Learning Site.
For instance, if you want certain Activities to be completed in order to receive the certificate, click on “Activity completion” and then choose the relevant Activities:
Step 5: Once you have defined all restrictions, simply scroll down to the bottom of the page and click on “Save and return to learning site”:
![]()
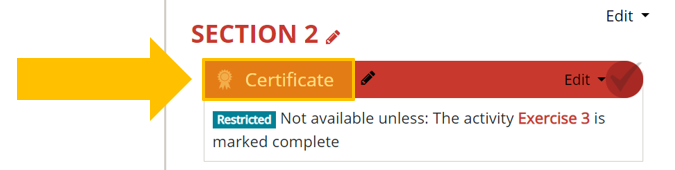
You will then be taken back to your Learning Site and will see that a new Activity has now been added to your Learning Site:
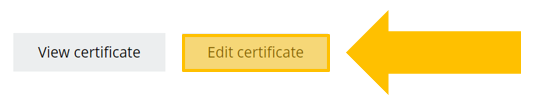
Step 8: To upload the certificate template that you had prepared, click on that Activity and then on “Edit certificate”:
Step 9: Here you can select various features that can be displayed on your certificate:
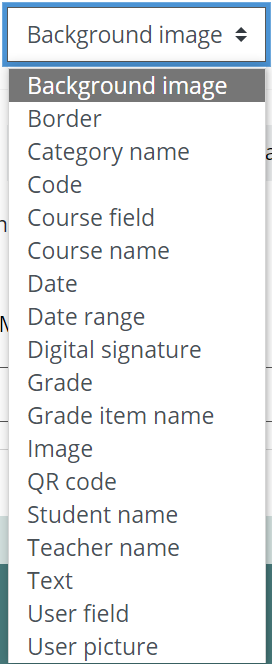
For instance, if you want to add the template that you had prepared, select “Background image” and then click on “Add element”:

Keep adding all features that you want to have displayed on your certificate, such as the Learner’s name and the date.
Step 9: Click on “Reposition elements” to put them in the right place on your template:
![]()
Simply drag and drop the elements on the certificate into the right place. If you want to change the font size, you can double-click on the text to edit it.
Step 10: Once you are ready, click on “Save changes and preview” to see your certificate:
![]()
Your certificate is now ready and might look similar to this one:
If you are happy with your certificate template and would like to reuse it in the future, you can upload it to Fabo, so that it is ready for use next time you add a certificate to a Learning Site. This way you can also make it available to your Site Editors.
To do that, simply follow the steps described in this guide: Access the guide.
certificates, diplom, diploma, document, certification, confirmation